Where is the Microphone on iPad Air? Your Complete Guide
Introduction
The iPad Air, with its sleek design and rich features, stands out in the tablet world. Many users, however, often wonder where the microphone is located, given the variety of iPad Air models. Knowing its location and optimizing its use can greatly enhance tasks like audio recordings, voice commands, and video calls. This guide covers the microphone’s location in different iPad Air models and offers tips to optimize its use.
Overview of iPad Air Models
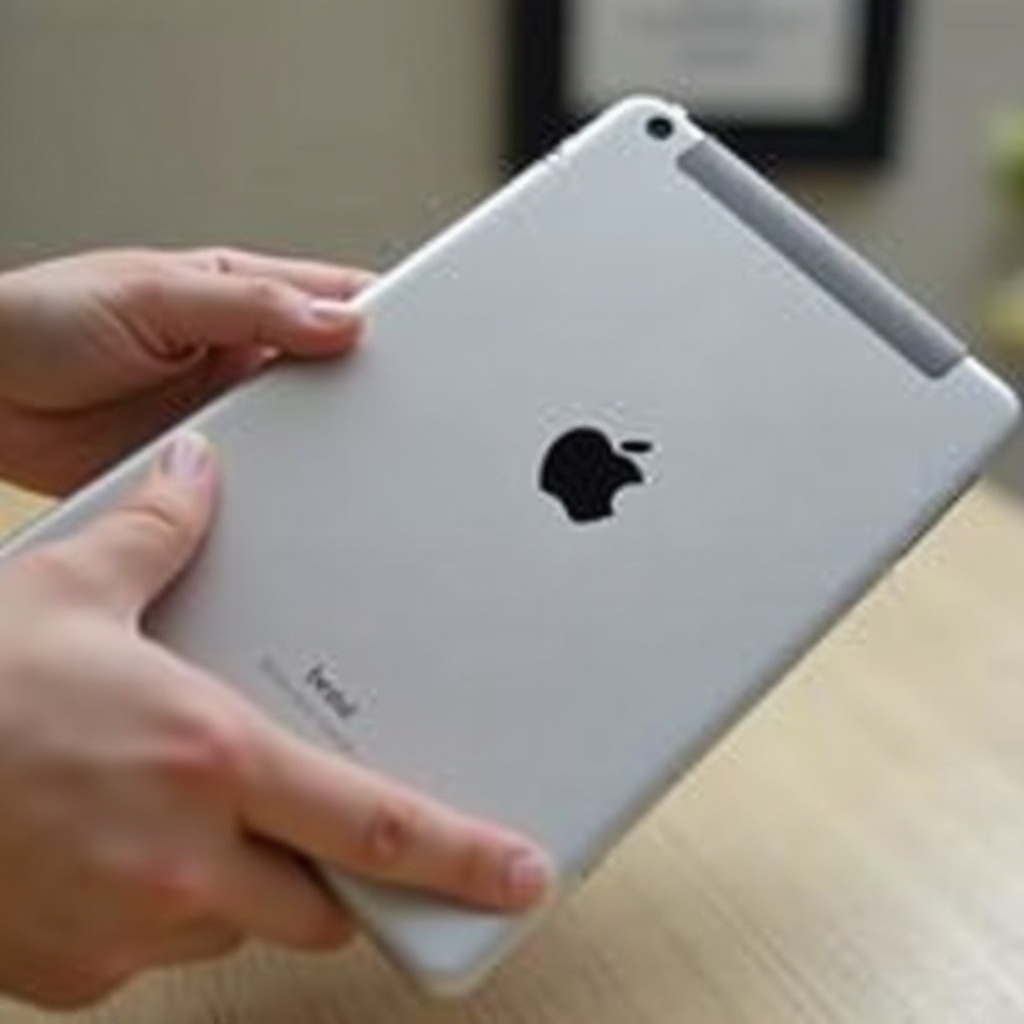
Each generation of the iPad Air brings design innovations that affect component placement, including the microphone. Understanding these changes can provide clarity on microphone locations across models, ultimately enhancing user experience.
Understanding iPad Air Generations
The first iPad Air emerged in 2013, establishing a benchmark for slim profiles combined with powerful hardware. Successive versions continued this trend, refining the design for better performance and aesthetics. These refinements have a direct impact on internal layouts, especially peripherals like microphones.
Design Changes Affecting Microphone Placement
As each iPad Air model evolved, changes in design, such as reducing bezel size and transitioning to virtual home buttons, required reconfiguration of internal components. Such shifts offer context for microphone placements in subsequent sections.

Microphone Locations on Different iPad Air Models
Identifying the microphone’s location on your iPad Air helps you maximize its utility in various applications, ensuring seamless calls, clear audio recordings, and effective voice commands.
iPad Air 4th Generation and Later
In these models, the microphone is generally located at the top edge near the power button. This position provides optimal audio capture whether the device is used in portrait or landscape mode, which is increasingly common for streaming and conference calls.
iPad Air 3rd Generation
For the 3rd generation, the microphone is placed at the top center. This setup aims to reduce obstruction and improve audio quality in vertical orientations, typical when reading or browsing.
iPad Air 2 and Older
In the older iPad Air models, the microphone is integrated on the back, usually positioned near the rear camera and along the top edge. This layout ensures good voice pickup during video calls, though the microphone might get accidentally blocked.
Using the iPad Air Microphone Effectively
Once you know where the microphone is located, you can focus on using it strategically for a variety of tasks, achieving excellent audio results every time.
Common Uses for the Microphone
- Voice Commands: Activate Siri by saying ‘Hey Siri,’ and then state your command.
- Recording Audio: Utilize the Voice Memos app for capturing lectures or taking personal notes.
- Video Conferencing: Participate in Zoom or FaceTime calls with excellent audio clarity.
Enhancing Audio Quality
To guarantee high-quality sound capture, keep these suggestions in mind:
– Ensure the microphone is unobstructed and regularly cleaned.
– Consider using external microphones for professional audio recording.
– Regular software updates can help maintain optimal performance.
Troubleshooting Common Microphone Issues
Despite Apple’s commitment to quality, microphone problems can arise. Being aware of common issues and how to address them can keep your iPad Air in top working condition.
Identifying Microphone Problems
Your microphone might be malfunctioning if:
– People can’t hear you during video or phone calls.
– Siri fails to respond or misinterprets requests.
– Voice recordings are unclear or silent.
Simple Fixes and Solutions
- Check Settings: Ensure microphone access for relevant apps is active in settings.
- Perform a Soft Reset: Restart your iPad to bypass any temporary glitches.
- Clean the Microphone Area: Use a soft brush or compressed air for dust removal.
- Update iOS Version: Regular updates may contain fixes for microphone-related issues.
Conclusion
Locating and optimizing the microphone on your iPad Air is straightforward yet crucial for maximizing the device’s functionality. Whether using it for business calls or personal audio recordings, understanding its location and maintaining its performance can significantly enhance your experience. With this practical guide, you can be confident in making the most of your iPad Air’s audio capabilities.
Frequently Asked Questions
How can I test if my iPad Air microphone is working correctly?
Record a short voice memo and listen to the playback. Clear sound indicates proper microphone function.
Can I replace the microphone on my iPad Air?
While possible, it is advisable to have replacements done by professionals due to the complexity involved.
What should I do if my iPad Air microphone is not working properly?
Verify microphone settings, restart your iPad, clean around the microphone, and ensure your iOS is up-to-date. If issues persist, consider contacting Apple Support.